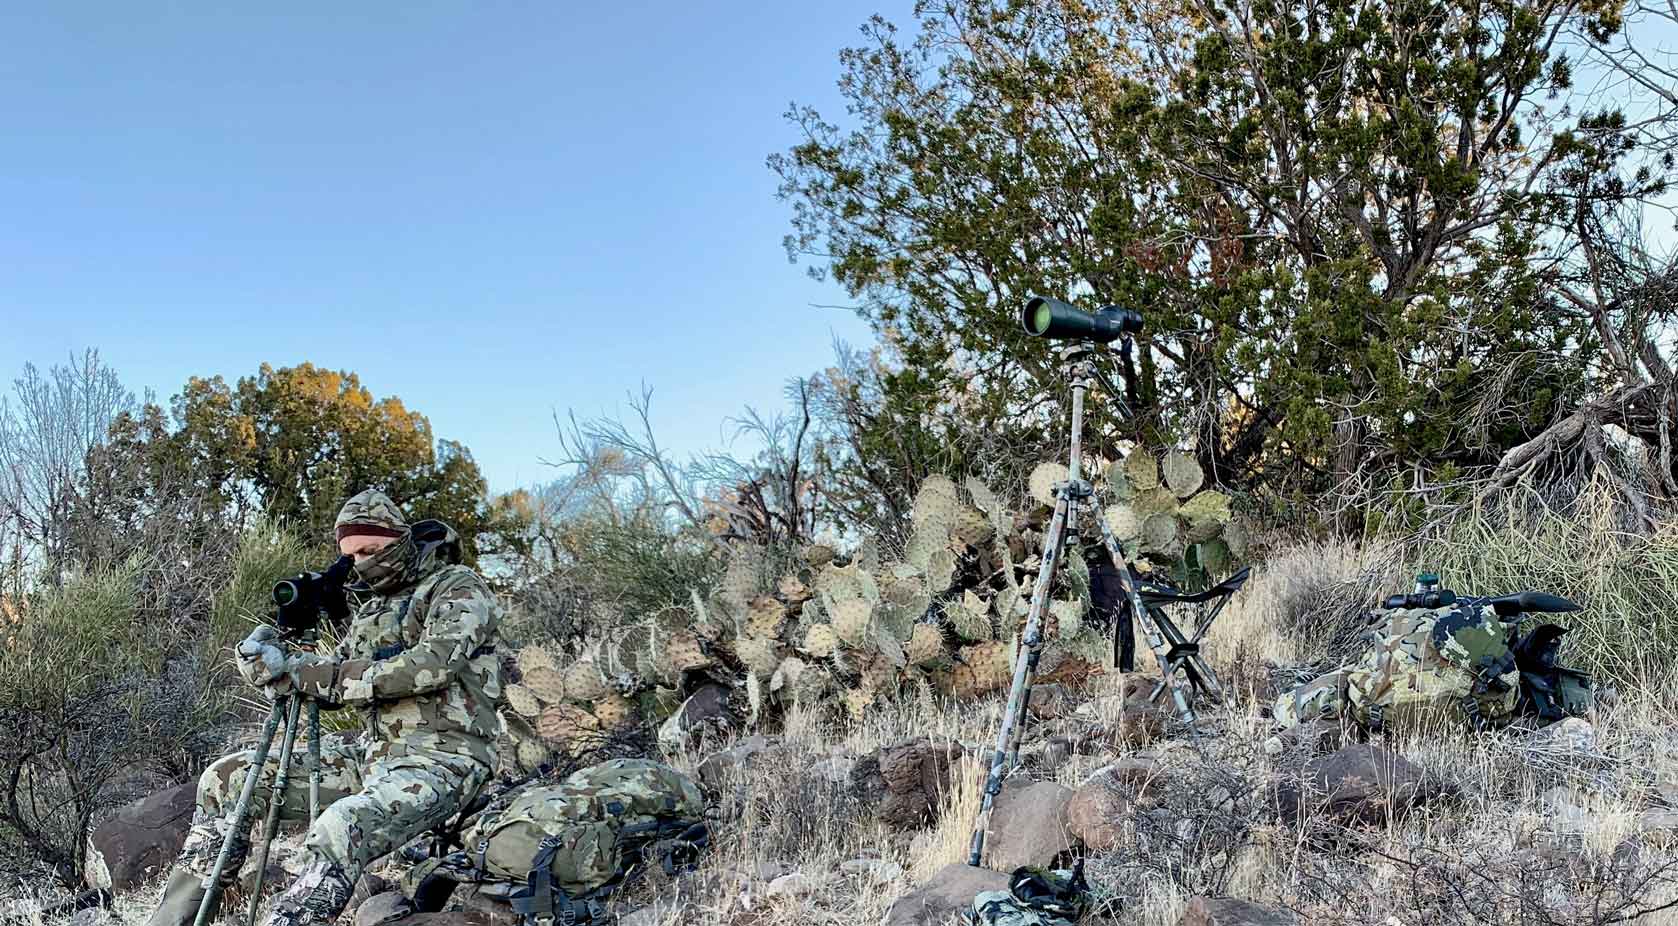
F.I.R.E Week 3: Glassing Like a Pro
How to See More Game and Waste Less Time in the Field
One of the most common questions I get from clients is:
“How do you spot animals that no one else sees?”
Here’s the truth: it’s not a superpower (but it helps if you have eagle-eye Jeff on your team). It’s not better eyes or a better spotting scope (though that doesn’t hurt). It’s a system. It’s about glassing with purpose, not just hope.
In this post, I’ll walk you through how I glass on real hunts, from equipment setup to scanning patterns and posture. If you’ve ever felt like you sit behind the glass for hours and still miss animals, this one’s for you.
First: Change Your Mindset
Most hunters glass like tourists. They scan too fast, bounce around, and hope something obvious jumps out. But game animals are built to disappear.
If you’re not deliberate, you will miss them. Read that again...
My glassing goal is simple: methodically break down the country so nothing gets by me.
If you're curious how bucks vanish in wide-open country, don’t miss Shadow Path, where I break down lessons learned from old bucks and their disappearing acts.
Gear That Actually Helps (Not Hurts)
Let’s start with your tools. Good glass doesn’t make you better, it just makes your mistakes clearer.
(Obvious caveat here: you get what you pay for when it comes to optics. If you want to see very clearly at very long ranges, you’re going to spend some coin. But I have found in my life that you buy once, cry once. Spend it now, get the good one, and then you don’t have to worry about it.)
Here’s how to build a setup that works:
- Binoculars (10x42 or 12x50): For wide scanning and close-to-mid distances, I wear Vortex Fury 10x range finding binos on my chest
- Spotting Scope: For confirming size, age, legality, and video footage via Phone Skope. I prefer the lightweight and flexibility of a small spotter in the 15-40x magnification range
- Tripod: This is a must. It adds hours to your glassing time and keeps your field of view rock solid. Carbon tripods are widely available now and the weight savings pays dividends
- Lightweight tripod head: Comfort matters more than you think. I love the Area 419
My go-to combo:
10x50s in my Kuiu Bino harness for scanning and ranging. Spotting scope stays in the pack until we get to the glassing spot or something needs a closer look.
Setup Like You Mean It
You need to be able to sit comfortably for hours. If you’re shifting every 5 minutes, you’re going to miss game.
Here’s how I build a glassing perch:
- Pad or stool for comfort
- Wind to your back or quartering
- Sun behind you if possible
- Backed into cover so you don’t silhouette on a skyline (again, shade is a huge advantage for your comfort and concealment)
A glassing spot isn’t just a good view, it’s a position of advantage.
I want elevation, concealment, and stability.
Also check out How to Read a Ridge for terrain interpretation tips that pair perfectly with this section.
Scan with a System (Not a Vibe)
Let’s get into the process. Randomly bouncing around your binos is a rookie mistake.
First, be smart and use your gut. Look at all the places you would expect to see a buck. Often, you can spot something right away and have a target for the spotting scope. But if a quick scan in the obvious areas doesn’t show anything, then use a grid system to scan the landscape, like this:
- Divide the terrain into horizontal bands. top, middle, bottom
- Scan left to right across the top
- Drop down a section, scan back right to left
- Repeat methodically until you’ve covered the entire view
I call it the “Z-pattern” and I’ve spotted more bedded bucks at midday using this than any other technique.
When I’m tired or it’s getting late, I’ll make one last slow pass, because the animal you missed was likely sitting still the whole time.
What Am I Looking For?
You’re not looking for a full deer or elk. You’re looking for:
- A twitching ear
- The curve of a tine
- A dark vertical shadow that shouldn’t be there
- The horizontal line of a back on a slope
- The flick of a tail or flash of sunlight off a hide
I call these “unnatural naturals”. They stand out if you’re patient and trained to see them.
When to Use Binos vs. Spotter
- Binos: Use for everything until something catches your attention
- Spotter: Pull it out to judge size, confirm legality, or study a buck in bed
The spotter is a tool for detail, not for initial scanning. You’ll burn yourself out trying to sweep a hillside with a 60x lens. I prefer a lower magnification and lighter weight.
Real-Life Drill You Can Run This Week
Pick a hillside or big terrain feature near your house or hunting area. Practice grid scanning with your binos on a tripod. Drop small objects (water bottles, antlers, camo gloves) in the field ahead of time — then practice picking them out.
You’ll be surprised what you’ve been missing.
Final Thoughts from Joel
Some of the biggest animals I’ve ever killed or helped with weren’t spotted right away. They were glassed up because I had a system. Because I didn’t rush. Because I was locked into the process.
Glassing isn’t glamorous. But it’s the difference between hope and results.
And once you learn to see what others miss, you’ll start stacking opportunity after opportunity.
Next week we’re digging into wind, weather, and movement. The invisible elements that make or break a stalk.
Until then, stay behind the glass.
– Joel
